The best Sourdough Starter Not Rising
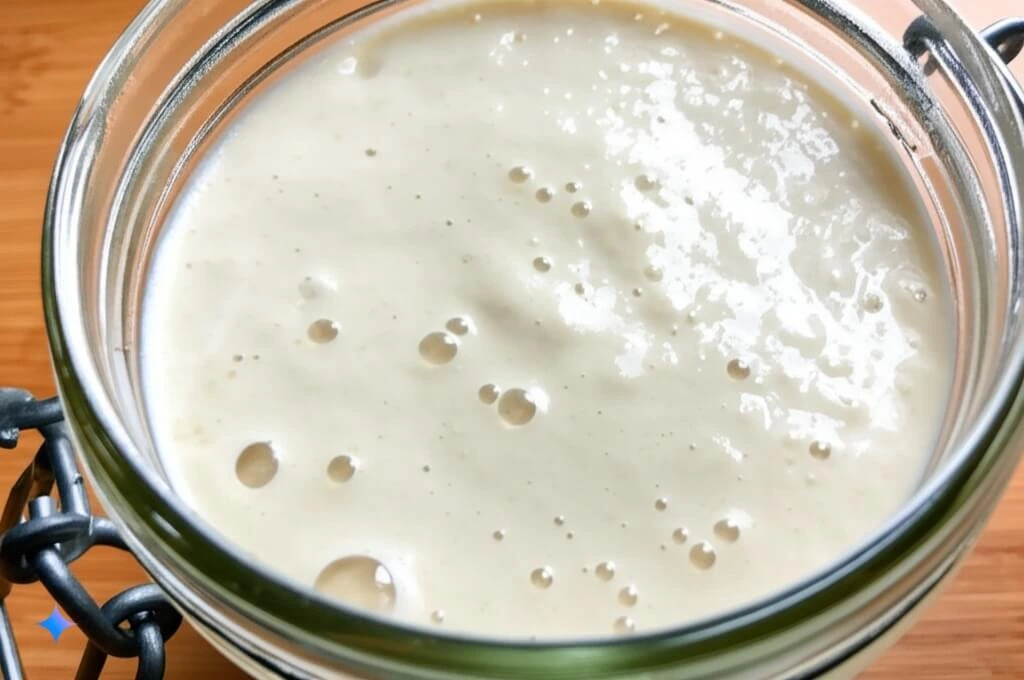
Is your sourdough starter not rising ? Don’t panic! It’s a common problem, and we’re here to help. A healthy, active starter is the foundation of delicious sourdough bread, providing both the leavening power and that distinctive tangy flavor we all love. When your starter isn’t performing as expected, it can be frustrating and disappointing.
This comprehensive guide will walk you through the most common reasons why your sourdough starter isn’t rising and provide actionable solutions to get it back on track. Whether you’re a beginner facing your first sourdough challenges or an experienced baker encountering unexpected issues, you’ll find practical advice to revive your dormant starter.
Understanding sourdough starter not rising Basics
What Is a Sourdough Starter?
A sourdough starter is a simple mixture of flour and water that naturally ferments over time. This fermentation process cultivates wild yeasts and beneficial bacteria that exist naturally in flour and in the environment around us. Unlike commercial bread which relies on packaged yeast, sourdough bread gets its rise and distinctive flavor from this living culture.
The Science Behind Sourdough
The magic of sourdough happens through a symbiotic relationship between wild yeasts (primarily Saccharomyces species) and lactic acid bacteria (primarily Lactobacillus species). The yeasts consume the sugars in flour and produce carbon dioxide gas (creating the rise) and alcohol. The bacteria produce lactic and acetic acids, which contribute to sourdough’s characteristic tang and help preserve the bread.
The Life Cycle of a Starter
A healthy sourdough starter goes through predictable phases:
- Initial fermentation – After feeding, the microorganisms begin consuming the fresh nutrients
- Active growth – The culture becomes increasingly active, producing gas and expanding
- Peak activity – Maximum gas production and volume (typically doubles or triples in size)
- Decline – As food sources deplete, activity slows and the starter begins to fall
Why This Matters for Rising
Understanding these basics helps explain why a proper rise indicates a healthy, active microbial population. When your starter isn’t rising, it means the yeast activity is insufficient – either there aren’t enough yeasts, or they’re not active enough to produce significant gas. The following sections will help you identify exactly what’s happening with your starter and how to fix it.
The Most Common Reasons Your sourdough starter not rising
Temperature
Temperature plays a crucial role in sourdough fermentation and is often the primary culprit when a starter isn’t rising properly.
Ideal Temperature Range
The ideal temperature for a sourdough starter is between 70-75°F (21-24°C). In this range, both yeasts and bacteria thrive, creating balanced activity and flavor.
How Temperature Affects Microorganisms
- Too cold (below 65°F/18°C): Yeast activity slows dramatically, resulting in minimal rise
- Too warm (above 85°F/29°C): Bacterial activity dominates, potentially creating excess acidity that can inhibit yeast
Solutions
- Use a thermometer to monitor the ambient temperature
- Create a warmer microclimate using:
- A proofing box
- Oven with light on (but turned off)
- Top of refrigerator
- Insulated container with warm water bottle
- In summer, find a cooler spot to avoid overheating
Flour Type and Quality
The flour you use provides both the food source and some of the microorganisms for your starter.
Best Flours for Starter Activity
- Whole grain flours (especially rye and whole wheat) contain more nutrients and natural yeasts
- Unbleached flour preserves natural enzymes and microorganisms
- Fresh flour contains more available nutrients
Problems with Certain Flours
- Bleached flour lacks many natural yeasts and nutrients
- All-purpose white flour works but may produce slower activity
- Old or stale flour has depleted nutrients
Solutions
- Try feeding with a portion of whole grain flour (25-50%)
- Ensure you’re using unbleached flour
- Check the freshness date on your flour
- Experiment with different flour blends (rye is particularly effective for boosting activity)
Hydration (Water Ratio)
The ratio of water to flour affects how easily yeasts and bacteria can access nutrients.
Optimal Hydration Levels
Most starters perform best at 100% hydration (equal weights of flour and water), creating a consistency similar to thick pancake batter.
Impact on Starter Activity
- Too dry: Limits microbial mobility and nutrient access
- Too wet: Can dilute activity and create a more acidic environment
Solutions
- Measure ingredients by weight for consistent hydration
- Adjust hydration based on:
- Flour type (whole grain flours absorb more water)
- Environmental conditions (drier climates may require more water)
- Visible consistency (should be stirrable but not watery)
Feeding Schedule
Regular feeding provides fresh nutrients and prevents excessive acidity buildup.
Optimal Feeding Frequency
- For a mature starter at room temperature: once or twice daily
- For refrigerated starters: weekly feedings
- For new starters: once daily
Signs of Feeding Issues
- Underfeeding: Excessive acidity, liquid separation (hooch), decreased activity
- Overfeeding: Diluted starter, delayed rise, weak activity
Solutions
- Establish a consistent feeding schedule
- Feed when the starter has peaked and begun to fall
- For weak starters, try more frequent feedings with smaller amounts
- Adjust ratios to maintain appropriate starter strength (1:1:1 or 1:2:2 starter:flour:water by weight)
Inadequate Oxygen
Yeasts require oxygen during their active growth phase.
Why Oxygen Matters
During the early stages of fermentation, yeasts perform aerobic respiration, which requires oxygen and produces more cell growth.
Common Oxygen Problems
- Tightly sealed containers prevent air exchange
- Overfilled containers limit surface area exposure
Solutions
- Use a jar with a loose-fitting lid
- Cover with a breathable cloth or coffee filter
- Fill container only 1/3 full after feeding to allow room for growth and air exchange
Contamination
Unwanted microorganisms can compete with beneficial cultures.
Sources of Contamination
- Unclean utensils or containers
- Contaminated water (chlorine, bacteria)
- Mold spores from environment
Signs of Contamination
- Unusual colors (pink, orange, blue)
- Mold growth
- Off odors (rotten, putrid)
Solutions
- Use clean utensils and jars for each feeding
- Consider filtered or bottled water if tap water is heavily chlorinated
- Maintain clean counter surfaces when working with your starter
Age of Starter
New starters take time to develop stable microbial communities.
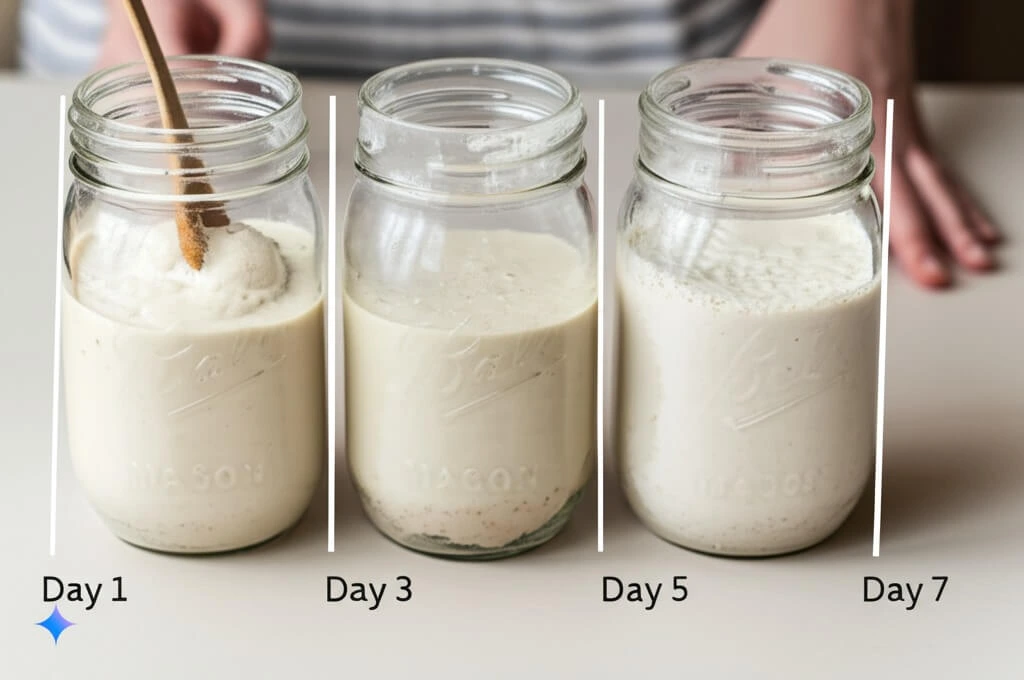
Timeline for New Starters
- Days 1-3: Minimal activity, possibly some initial bubbling
- Days 3-7: Fluctuating activity as microorganisms establish
- Days 7-14: Gradually increasing consistency in rise
- Days 14+: Stable, predictable behavior
Solutions
- Be patient with new starters – full maturity takes 2-4 weeks
- Continue regular feedings even when activity seems minimal
- Note gradual improvements rather than expecting dramatic changes
Dormancy (Winter/Storage)
Starters can become dormant during cold conditions or storage periods.
Causes of Dormancy
- Long refrigeration without feeding
- Very cold ambient temperatures
- Dehydration (dried starters)
Solutions
- Gradually reawaken dormant starters with room-temperature feedings
- Use warm water (80°F/27°C) for initial revival feedings
- Increase frequency to 2-3 times daily during revival
- Be patient – revival may take several days of consistent feeding
Troubleshooting Guide for Specific Scenarios
“My starter isn’t rising at all.”
Potential causes:
- Temperature too cold
- Starter too young
- Flour lacking nutrients
- Container too restrictive
Solutions:
- Move to a warmer location (70-75°F/21-24°C)
- Feed with 50% whole grain flour (especially rye)
- Ensure container allows for expansion and air exchange
- Check that water is unchlorinated
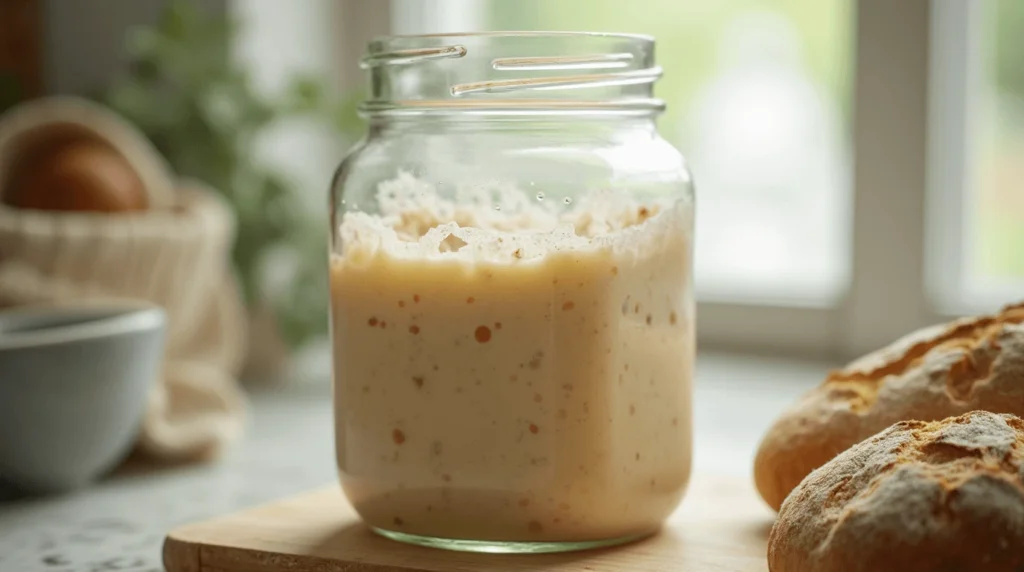
“My starter rises initially but then falls back down quickly.”
Potential causes:
- Overfermentation (feeding schedule too infrequent)
- Too warm environment
- Weak microbial population
Solutions:
- Feed more frequently (every 8-12 hours)
- Reduce fermentation temperature slightly
- Adjust feeding ratio to 1:2:2 (starter:flour:water)
- Ensure you’re discarding enough old starter before feeding
“My starter smells bad (vinegar-like, cheese-like).”
Potential causes:
- Too acidic (overfermented)
- Bacterial imbalance
- Temperature too warm
Solutions:
- Increase feeding frequency
- Perform several “builds” (serial feedings without long fermentation periods)
- Adjust temperature to favor yeast (70-75°F/21-24°C)
- Try a 1:3:3 or 1:5:5 feeding ratio to dilute acidity
“My starter has mold.”
What to do:
- If it’s just surface mold and the starter is mature:
- Carefully remove the unaffected portion from below
- Transfer to a clean container
- Feed at 1:3:3 ratio to dilute
- If mold is extensive or the starter is new:
- It’s safer to start over
- Sanitize all equipment thoroughly
“My starter isn’t doubling after feeding”
Potential causes:
- Insufficient feeding ratio
- Temperature issues
- Weak yeast population
- Flour lacking necessary nutrients
Solutions:
- Increase the feeding ratio to 1:2:2 or 1:3:3
- Ensure temperature is in the optimal range
- Add a small amount (5-10%) of rye or whole wheat flour
- Be patient and consistent with feedings for at least a week
Reviving a Weak Sourdough Starter (Step-by-Step Guide)
If your sourdough starter isn’t rising properly, follow this comprehensive revival plan:
Day 1: Reset and Restart
- Take 1 tablespoon (15g) of your existing starter
- Add 50g whole wheat or rye flour
- Add 50g warm water (80°F/27°C)
- Mix thoroughly in a clean container
- Cover loosely and place in a warm spot (75-78°F/24-26°C)
Day 2: Boost Feeding
- Discard all but 20g of starter
- Feed with 40g whole grain flour + 40g all-purpose flour
- Add 80g warm water
- Mix thoroughly
- Cover loosely and keep warm
Day 3: Establish Routine
- Discard all but 25g of starter
- Feed with 50g whole grain flour + 50g all-purpose flour
- Add 100g warm water
- Repeat this feeding twice during the day (morning and evening)
Day 4: Strengthen Microbial Community
- Observe your starter – you should see some improvement in activity
- Continue twice-daily feedings at 1:2:2 ratio
- Use warm water and maintain optimal temperature
Day 5-7: Fine-tune
- Continue twice-daily feedings
- Gradually transition to your normal flour blend
- By day 7, your starter should show significant improvement in rising power
Remember: Patience is crucial! Revival is not instantaneous, but consistent care will yield results.
Advanced Techniques to Boost Starter Activity
If standard approaches aren’t working, consider these advanced techniques:
Autolyse the Flour Before Feeding
- Mix only the flour and water for your feeding
- Let it sit for 30-60 minutes before adding to your starter
- This pre-hydration makes nutrients more accessible
Use Fruit Juice Instead of Water
- Replace water with unsweetened pineapple juice for 2-3 feedings
- The mild acidity creates an environment that favors desired microorganisms
- Particularly effective for new starters or those struggling to establish
Add a Touch of Honey or Maple Syrup
- Add 1/4 teaspoon to your feeding
- Provides easily accessible food for yeast
- Use only for 1-2 feedings to jump-start activity
Dough Strengthening Techniques
- Implement a stretch and fold technique during feedings
- This incorporates oxygen and activates enzymes
- Stir vigorously for 30-60 seconds to incorporate air
Prevention is Key: Maintaining a Healthy Sourdough Starter
Once your starter is rising properly, follow these best practices to keep it healthy:
Consistent Care Routine
- Establish a regular feeding schedule
- Use consistent flour types and ratios
- Maintain similar temperature conditions
Proper Storage Options
- Room temperature: Feed daily for regular use
- Refrigeration: Feed weekly for occasional use
- Freezing: For long-term backup storage
- Drying: For long-term preservation
Monitoring Health Indicators
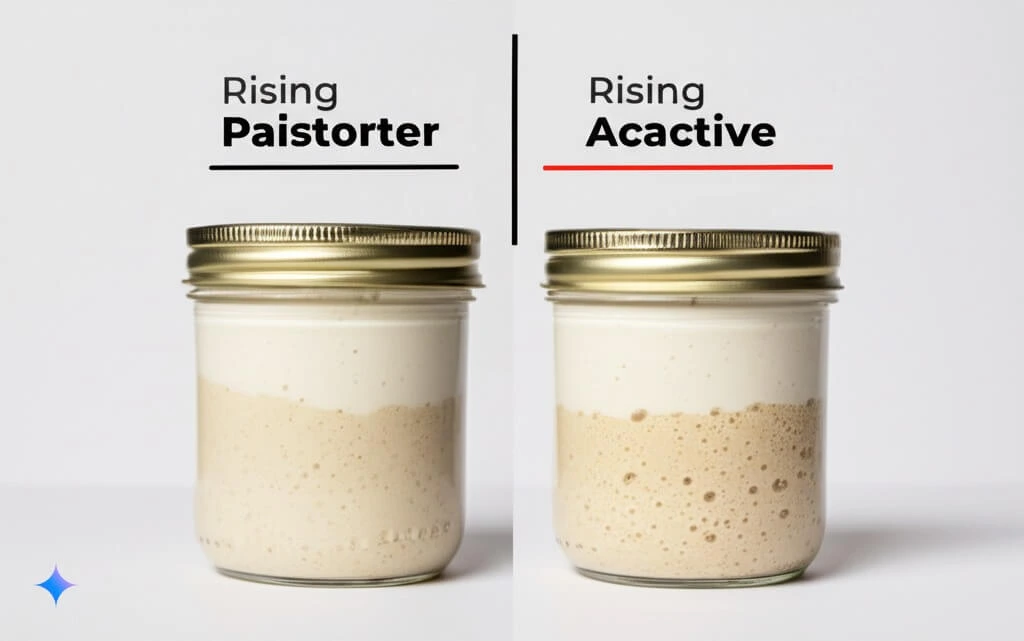
- Regular rise and fall patterns
- Pleasant sour aroma (yogurt-like, fruity)
- Consistent bubble formation
- Predictable peak times
Seasonal Adjustments
- Increase hydration slightly in winter
- Feed more frequently during hot summer months
- Adjust flour types seasonally if needed
Conclusion
A sourdough starter not rising is a common challenge, but with persistence and the right approach, you can revive even the most sluggish starter. Remember that sourdough is a living culture that responds to its environment, and sometimes it just needs a little extra care to thrive.
The most important factors to address are temperature, flour quality, feeding schedule, and hydration. By systematically working through these variables, you’ll develop a better understanding of your unique starter and how to keep it healthy.
Get your starter rising and baking delicious sourdough bread today! Don’t get discouraged if progress seems slow – the journey of maintaining a sourdough starter is as rewarding as the delicious bread it ultimately produces. Check out our [sourdough bread recipe](link to your recipe) once your starter is bubbling and ready for baking!
Have you successfully revived a struggling starter? Share your experiences and tips in the comments below!

