The Secret to Perfectly Smooth Chocolate Frosting for Cookies

When it comes to baking, the frosting is often the final touch that can elevate a cookie from good to extraordinary. But achieving that perfectly smooth, glossy chocolate frosting can sometimes feel like an elusive goal. If you’ve ever struggled with lumpy, too-thick, or uneven frosting, you’re not alone. In this guide, we’ll uncover the secrets to creating smooth, professional-quality chocolate frosting that will make your cookies shine. Whether you’re new to baking or looking to refine your frosting technique, you’ll find everything you need to know here.
Understanding Chocolate Frosting for Cookies
What Makes Chocolate Frosting Smooth?
The secret to smooth chocolate frosting lies in both the ingredients you choose and how you handle them. Smooth frosting should be creamy, glossy, and free of lumps. Achieving this perfect texture starts with understanding the role of each ingredient.
- Fat: Butter is commonly used in chocolate frosting because it contributes to a rich, smooth texture. The fat in butter helps the frosting spread evenly and creates a luscious mouthfeel.
- Sugar: Powdered sugar (also known as confectioners’ sugar) is the best choice for smooth frosting because it dissolves easily, creating a velvety consistency. Granulated sugar, on the other hand, can lead to a grainy texture.
- Cocoa Powder: Cocoa powder adds the deep chocolate flavor we all love. When using cocoa powder, it’s important to sift it to prevent clumps that can ruin the smoothness of the frosting.
Key Ingredients for Smooth Chocolate Frosting


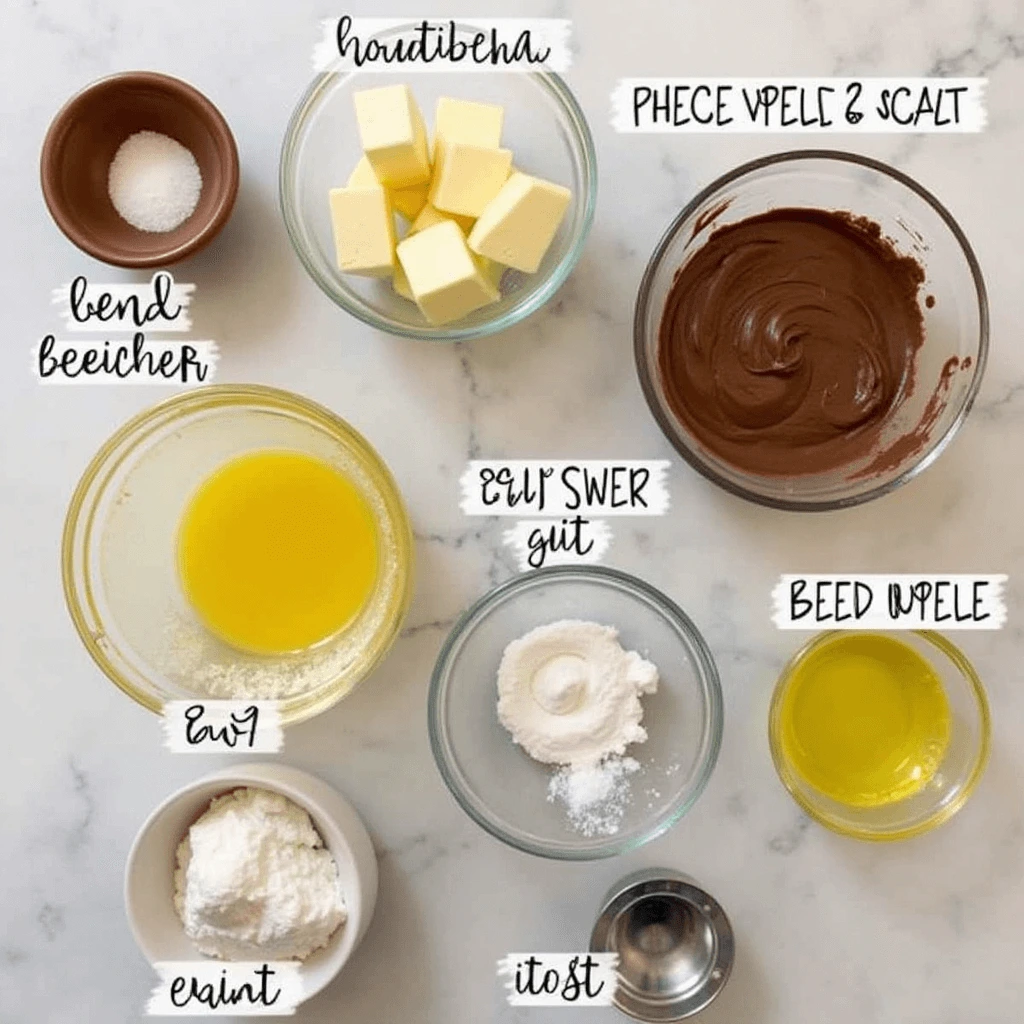
To get the perfect smooth chocolate frosting, it’s essential to use the right ingredients. Here’s what you need:
Chocolate Frosting Recipe for Cookies
Chocolate Frosting Ingredients Table
| Ingredient | Quantity |
|---|---|
| Unsalted Butter | 1/2 cup (115g) |
| Powdered Sugar | 2 1/2 cups (300g) |
| Cocoa Powder | 1/3 cup (40g) |
| Heavy Cream | 2-3 tablespoons |
| Vanilla Extract | 1 teaspoon |
Step-by-Step Guide to Making Smooth Chocolate Frosting for Cookies
Preparing Your Ingredients
Before you start, it’s important to prepare your ingredients. This will make the frosting process smoother and quicker.
- Room Temperature Butter: For the best results, your butter should be at room temperature. Cold butter can cause the frosting to be lumpy, while melted butter will result in a runny consistency.
- Sift the Cocoa Powder: Always sift your cocoa powder to avoid any lumps. This step ensures your frosting stays silky smooth.
- Accurate Measurements: Use a kitchen scale to measure your ingredients if possible, especially when it comes to powdered sugar. Too much or too little sugar can affect the texture of the frosting.
Mixing the Frosting
Now, let’s dive into the process of making the frosting. Follow these steps for a smooth, creamy finish:
- Cream the Butter: Start by beating the softened butter until it’s light and fluffy. This usually takes about 2-3 minutes with an electric mixer. Properly creamed butter creates the base for smooth chocolate frosting.
- Add Powdered Sugar: Gradually add the sifted powdered sugar, one cup at a time, beating on low speed to prevent sugar from flying everywhere. Once all the sugar is incorporated, increase the mixer speed to medium and continue mixing until smooth.
- Incorporate Cocoa Powder: Slowly add the sifted cocoa powder to the mixture, stirring it in with a spatula before mixing it fully with the electric mixer. This prevents clumping and ensures that the cocoa is evenly distributed.
- Add Heavy Cream: Add 2-3 tablespoons of heavy cream to achieve the desired frosting consistency. For a thicker frosting, add less cream; for a thinner, spreadable frosting, add more.
- Vanilla Extract: Stir in 1 teaspoon of vanilla extract to enhance the flavor of the chocolate. This small step makes a big difference in rounding out the taste.
- Mix Until Smooth: Beat the frosting for another 2-3 minutes, ensuring that it’s creamy, smooth, and free from any lumps.
Common Mistakes to Avoid for Smooth Chocolate Frosting
Achieving perfectly smooth chocolate frosting can sometimes feel tricky. Here are some common mistakes to avoid:
Avoid Over-Mixing or Under-Mixing the Frosting
- Over-mixing can cause the frosting to separate or become too runny, especially if too much cream is added.
- Under-mixing leaves you with lumps or uneven texture. Always mix on medium speed to ensure a smooth consistency without overworking the frosting.
Don’t Skip the Sifting Process
- Skipping the sifting of powdered sugar and cocoa powder can result in lumps in the frosting. Always sift both ingredients to ensure a smooth, creamy finish.
Adjusting Consistency
If your frosting isn’t the right consistency, here’s how to fix it:
- Too Thin: If your frosting is too runny, simply add more powdered sugar, a little at a time, until it thickens to the desired consistency.
- Too Thick: If the frosting is too thick, add more heavy cream or milk, a tablespoon at a time, to achieve the perfect spreadable texture.
Decorating Smooth Chocolate Frosted Cookies Like a Pro
Choosing the Right Tools for Frosting
To create smooth chocolate frosting cookies, the tools you use are just as important as the frosting itself.
- Offset Spatula: The offset spatula is perfect for spreading frosting evenly across cookies. Its angled blade allows you to work with more precision and control.
- Piping Bags and Tips: If you’re aiming for a more decorative finish, using a piping bag fitted with a round tip can give your cookies a smooth, professional appearance.
Applying Frosting Evenly
Once your frosting is smooth and the right consistency, it’s time to apply it to your cookies.
- Spread Lightly: Use a gentle touch when spreading the frosting on the cookies to avoid disrupting the surface of the cookie itself.
- Thin Layers: Apply frosting in thin layers. If you want a thicker coat, let the first layer set before applying another.
Tips for Perfecting Your Frosting Every Time
The Right Room Temperature for Frosting
- Butter: Ensure your butter is at room temperature, not too cold or too melted. Room temperature butter will blend into the frosting smoothly, preventing lumps or runniness.
Chilling Frosted Cookies
- After frosting your cookies, let them sit at room temperature to allow the frosting to firm up. If you’re in a rush, you can chill the cookies in the fridge for about 30 minutes.
Conclusion
Now that you know the secret to creating perfectly smooth chocolate frosting for cookies, it’s time to put these tips into practice. Whether you’re baking for a special occasion or just indulging in a delicious treat, smooth chocolate frosting will elevate your cookies to the next level. By following these simple steps and avoiding common mistakes, you’ll always achieve that glossy, creamy frosting that looks as good as it tastes.
FAQ Section
Q1: Why is my chocolate frosting lumpy?
Answer: Lumps often form if the cocoa powder or powdered sugar isn’t sifted. Make sure to sift both ingredients to prevent this issue. Additionally, ensure the butter is softened properly to avoid lumps.
Q2: How can I make chocolate frosting more glossy?
Answer: Add a small amount of vegetable oil or corn syrup to your frosting to make it more glossy. This can give your frosting a shiny, professional appearance.
Q3: Can I use dark chocolate in the frosting?
Answer: Yes! You can substitute melted dark chocolate for cocoa powder. Just melt the chocolate and mix it with the butter before adding the powdered sugar.
Q4: How can I adjust the consistency of my chocolate frosting?
Answer: If your frosting is too thick, add a little more cream. If it’s too thin, add more powdered sugar to thicken it up.
This guide will help you create perfectly smooth chocolate frosting every time, ensuring your cookies look and taste amazing. Whether you’re baking for family, friends, or a special occasion, your chocolate frosted cookies will be the star of the show!


