How to Make Soft Chocolate Chip Cookies with Kids

Baking with kids is an experience full of laughter, learning, and of course, delicious results. If you’re looking for the perfect recipe to enjoy baking with your little ones, then this Step-by-Step Guide on How to Make Soft Chocolate Chip Cookies with Kids is just what you need! Soft, gooey, and utterly irresistible, these cookies will melt in your mouth and leave your kitchen smelling like heaven. This simple, kid-friendly recipe will guide you through each step of the process to ensure both the baking and the fun are stress-free.
Whether you’re a parent, grandparent, or guardian, baking together is one of the best ways to bond, and there’s no better way to teach kids kitchen skills than by making a batch of homemade chocolate chip cookies. From the easy-to-handle dough to the warm, soft cookies fresh from the oven, this is a perfect baking project for kids of all ages. Plus, we’ll share expert tips and tricks to ensure your cookies come out soft and chewy every time!
Why Choose Soft Chocolate Chip Cookies for Baking with Kids?
Easier to Handle and Fun to Shape
Making soft chocolate chip cookies is not only delicious but also the ideal starting point for baking with kids. The dough is forgiving and easy to handle. It doesn’t spread too much, which makes it perfect for shaping, even for younger bakers. Plus, it’s easy to scoop the dough into cookie-sized portions without worrying about the cookies turning out flat or too crispy.
Soft cookies also tend to stay chewy for longer, which makes them perfect for kids to enjoy immediately after baking. They’re easier to eat and handle compared to crisp cookies that might break apart.
A Great Way to Bond
Baking together isn’t just about making cookies—it’s about building memories. From measuring ingredients to mixing the dough, every step is a great opportunity to bond. Letting kids take the lead in tasks like stirring or adding chocolate chips will boost their confidence, while helping them follow instructions fosters learning.
Additionally, baking soft chocolate chip cookies provides lots of room for creativity, such as decorating cookies with sprinkles, adding extra chocolate chips, or shaping the dough into fun shapes. Every step is a fun and engaging activity that lets kids experiment and be creative.
Ingredients You’ll Need for Soft Chocolate Chip Cookies
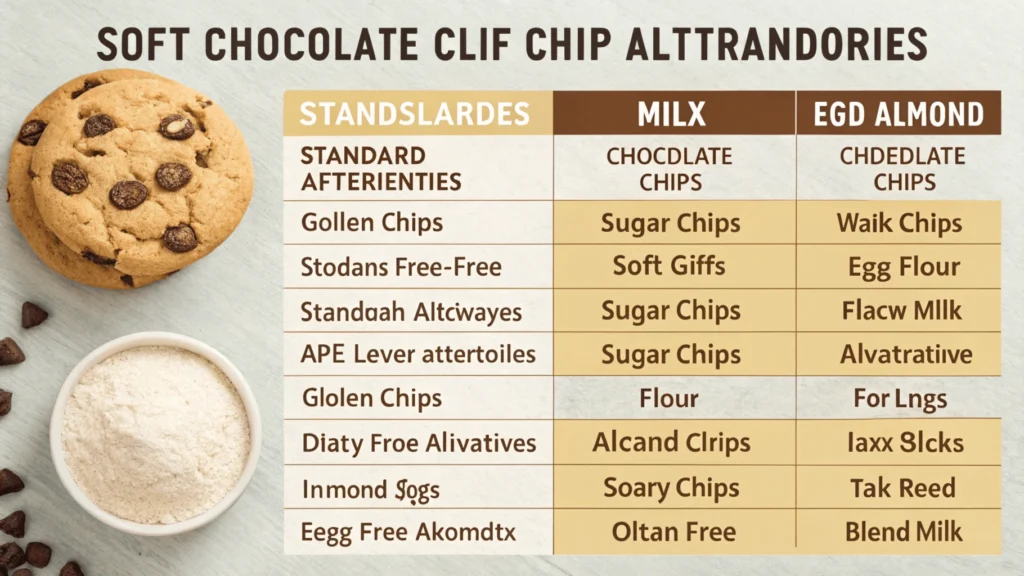
Before you get started, it’s important to gather all your ingredients. Here’s what you’ll need for this easy, kid-friendly recipe:
| Ingredient | Amount |
|---|---|
| Unsalted butter | 1 cup (2 sticks) |
| Brown sugar | 1 cup |
| White sugar | ½ cup |
| Eggs | 2 large |
| All-purpose flour | 2 ¼ cups |
| Baking soda | 1 tsp |
| Vanilla extract | 1 tsp |
| Chocolate chips | 2 cups |
Ingredient Substitutions
You can make a few adjustments to accommodate dietary preferences and restrictions:
- Dairy-Free: Swap regular butter with a dairy-free alternative like margarine or coconut oil.
- Egg-Free: Use a flax egg or chia egg as a substitute. To make a flax egg, combine 1 tablespoon of ground flaxseed with 2.5 tablespoons of water and let it sit for a few minutes until it thickens.
- Gluten-Free: Replace all-purpose flour with a gluten-free all-purpose blend.
These substitutions will help ensure everyone can enjoy these cookies, no matter their dietary needs.
Step 1: Mixing the Dough Together – Kid-Friendly Tips

Once you’ve gathered all your ingredients, it’s time to mix everything together! This part is especially fun for kids, as they can get involved in every step of the process.
1. Preheat the Oven
Before you start mixing, preheat your oven to 350°F (175°C). This ensures it’s at the right temperature when your cookies are ready to bake.
2. Mix Dry Ingredients
Start by preparing the dry ingredients. In a large bowl, sift together the flour and baking soda. This ensures the baking soda is evenly distributed and prevents clumps.
Tip for Kids: Let your little ones help with this step by using a whisk to mix the flour and baking soda. They’ll love the process of making the ingredients light and airy.
3. Cream the Butter and Sugars
In a separate bowl, combine the softened butter, brown sugar, and white sugar. Using a hand mixer or a stand mixer, beat the ingredients together until they’re light and fluffy. The mixing process can be fun for kids, but be sure to supervise them when using an electric mixer.
Tip for Kids: Let kids take turns with the mixer, or if they’re younger, let them help by stirring the butter and sugar by hand with a wooden spoon.
4. Add the Eggs and Vanilla
Next, add the eggs one at a time, followed by the vanilla extract. Mix until everything is well combined.
Tip for Kids: Kids can practice cracking eggs (under supervision) and adding them to the bowl. It’s a great opportunity for them to develop fine motor skills!
5. Combine the Dry and Wet Ingredients
Gradually add the dry ingredients into the wet ingredients, stirring gently as you go. This helps avoid any flour spills and ensures the dough is mixed evenly. Kids will enjoy seeing the dough come together!
Tip for Kids: Give kids a wooden spoon or spatula and let them stir the dough. They’ll love feeling like real bakers!
6. Add the Chocolate Chips
Finally, add the chocolate chips and mix until they are evenly distributed throughout the dough. This is the fun part—kids can help sprinkle the chocolate chips into the dough, which makes them feel involved in the final product.
Step 2: Shaping the Cookies and Getting Them Ready for the Oven
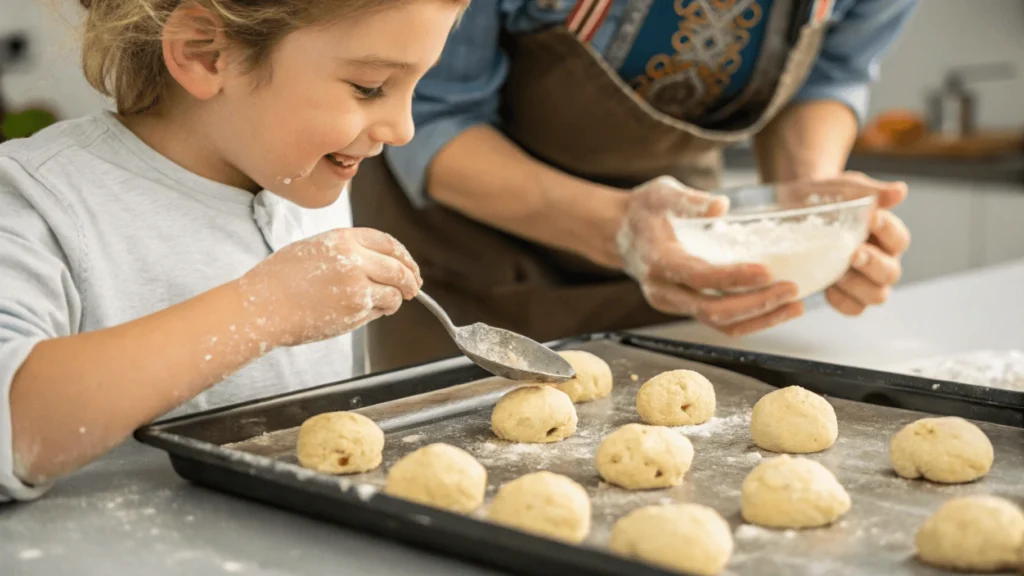
Now that your dough is ready, it’s time to shape the cookies and get them in the oven. This part is especially exciting for kids because they get to see their hard work starting to take form.
1. Scoop the Dough
Using a spoon or a cookie scoop, portion out the dough into 1-2 tablespoon-sized balls. This is where kids can really get involved by helping to scoop the dough and shape the balls.
Tip for Kids: If you want to make smaller, bite-sized cookies, use a smaller scoop. For larger cookies, increase the dough portion.
2. Place Dough Balls on the Baking Sheet
Place each dough ball on a baking sheet lined with parchment paper, ensuring they are spaced at least 2 inches apart. This allows the cookies to spread as they bake without sticking together.
Tip for Kids: Let kids help with the placement. They can also help press down lightly on the dough balls to flatten them slightly, which helps them spread more evenly as they bake.
3. Bake the Cookies
Place the baking sheet in the oven and bake for 8-10 minutes. Keep a close eye on the cookies, as baking times can vary depending on your oven. For soft, chewy cookies, you’ll want to pull them out just as the edges begin to turn golden but the center is still a little soft.
Tip for Kids: While waiting for the cookies to bake, kids can watch the dough spread and turn golden. It’s a fun part of the process where they get to see the magic happen!
Step 3: Troubleshooting Common Problems When Baking with Kids
Sometimes, things don’t always go according to plan, but don’t worry—this is all part of the baking process! Here are some common problems and how to avoid them:
1. Cookies Too Flat
If your cookies spread too much and become thin, the dough may have been too warm when placed on the baking sheet. Solution: Chill the dough for 30 minutes before baking. This helps the cookies hold their shape better.
2. Cookies Too Hard
Overbaking can result in cookies that are too crunchy. To keep your cookies soft, underbake them slightly and allow them to continue cooking on the hot baking sheet for a minute or two after you remove them from the oven.
3. Dough Sticking to Hands
If the cookie dough sticks to your hands, simply flour your hands lightly or use parchment paper for rolling and shaping the dough.
Fun Variations and Add-Ons for Soft Chocolate Chip Cookies
Once you’ve mastered the classic soft chocolate chip cookie recipe, it’s time to get creative! Here are some fun ideas to add a twist to your cookies:
- Different Types of Chocolate: Try using a combination of milk, dark, and white chocolate chips for a multi-flavored cookie experience.
- Nuts or Dried Fruit: Add chopped walnuts, pecans, or dried cranberries for extra flavor and texture.
- Marshmallows: Add mini marshmallows to create gooey, gooey cookies that kids will love.
- Decorating Cookies: Once the cookies are baked and cooled, let kids decorate them with sprinkles, icing, or extra chocolate chips.
Conclusion
Baking soft chocolate chip cookies with kids is more than just a recipe—it’s a fun, educational, and rewarding experience. From mixing the dough to watching the cookies bake in the oven, every step is an opportunity to create lasting memories while enjoying delicious treats together. With this easy step-by-step guide, you’ll be able to bake soft, gooey chocolate chip cookies that everyone will enjoy.
Call to Action
So, what are you waiting for? Grab your ingredients, invite the little bakers into the kitchen, and start making these soft, melt-in-your-mouth chocolate chip cookies today!
Frequently Asked Questions (FAQ)
1. How can I make my chocolate chip cookies softer?
To make your cookies softer, use more brown sugar (which contains molasses) and bake them for a shorter time. The secret is not overbaking!
2. Can I freeze cookie dough for later?
Yes, you can freeze cookie dough! Scoop the dough into balls and freeze them on a baking sheet. Once frozen, transfer the dough balls to a freezer bag. When you’re ready to bake, just add an extra minute or two to the baking time.
3. What can I substitute for eggs in this recipe?
You can use a flax egg or chia egg as a substitute. For a flax egg, mix 1 tablespoon of ground flaxseed with 2.5 tablespoons of water and let it sit for a few minutes until it thickens.
4. How do I prevent my cookies from spreading too much?
To prevent excessive spreading, chill your dough for at least 30 minutes before baking. Also, make sure your baking sheet is cool when you place the dough on it.
Enjoy your baking session! Whether it’s your first time in the kitchen with kids or you’re a seasoned baker, these soft chocolate chip cookies will undoubtedly become a family favorite. Happy baking! 🍪


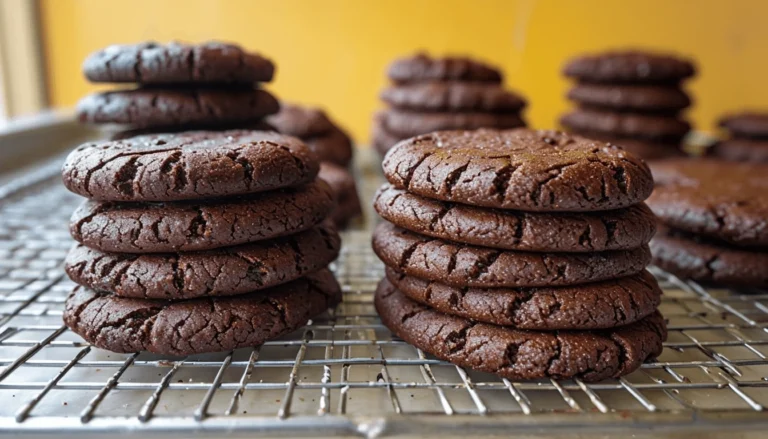
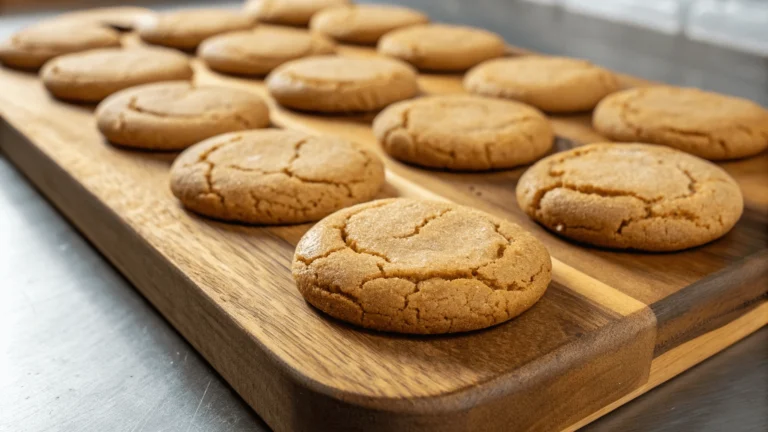



[…] in Quality Ingredients: High-quality cocoa powder and chocolate chips make a noticeable difference in […]
[…] fold in the chocolate chips using a spatula, ensuring even distribution throughout the […]
[…] free to customize your cookies with optional add-ins like nuts, white chocolate chips, or even a sprinkle of sea salt for extra flavor. Get creative with these variations to suit your […]